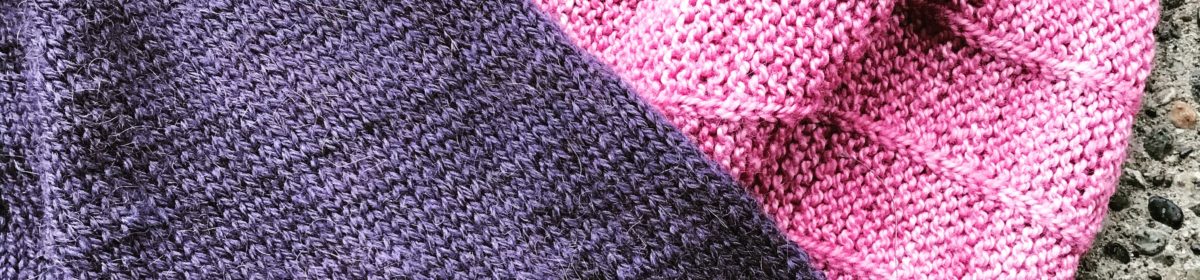
 As mentioned, earlier today, I’m knitting purple baby caps (to see why look here). So, to add some variety, I came up with a pattern 🙂
I love the twin rib stitch pattern because it is very stretchy, yet looks wonderful even if the stretch isn’t needed. The top crown is decreased to create a ribbed star pattern on the top but I’m still playing around with it to have it decrease ‘in pattern’ since I prefer a universal look to a hat, rather than a slanted or plain crown. I’m likely going to update the pattern with child sizes (skull caps)
NOTE: Aug 25, 2012 – edited to add Gauge/Finished size – oops! Sorry about forgetting that…

Yarn: Loops & Threads Snuggly Wuggly Baby Sport
Needles: size 3mm dpns
GAUGE: 30st to 4″ in pattern flat – ie unstretched
Size for newborn
Finished size: 5″ wide flat – ie unstretched by 5+” high
Twin Rib Pattern:
row 1: k3, p3 to end of row
row 2: k1, p1 to end of row
Abbreviations:
K = knit
p = purl
Sl2k = slip two stitches as if to knit together
Sl2p = slip two stitches purlwise
psso = pass slipped stitches over stitch just worked
Pattern:
Cast on 72 stitches
Join in round (careful not to twist!!)
K3, P3 for 6 rows
Follow Twin Rib Pattern for 4″ (27 rows) ending with a row 1
Decreases for Crown:row 1: (K3, sl2p, p1, psso) repeat to end of round
row 2: k1, p1 to end of round
row 3: k3, p1 to end of round
row 4: (sl2k, k1, psso, p1) repeat to end of round
row 5: k1, p1 to end of round
row 6: (sl2k, k1, psso) to end of round
Break off yarn, thread through remaining stitches, draw to a close & weave in ends.
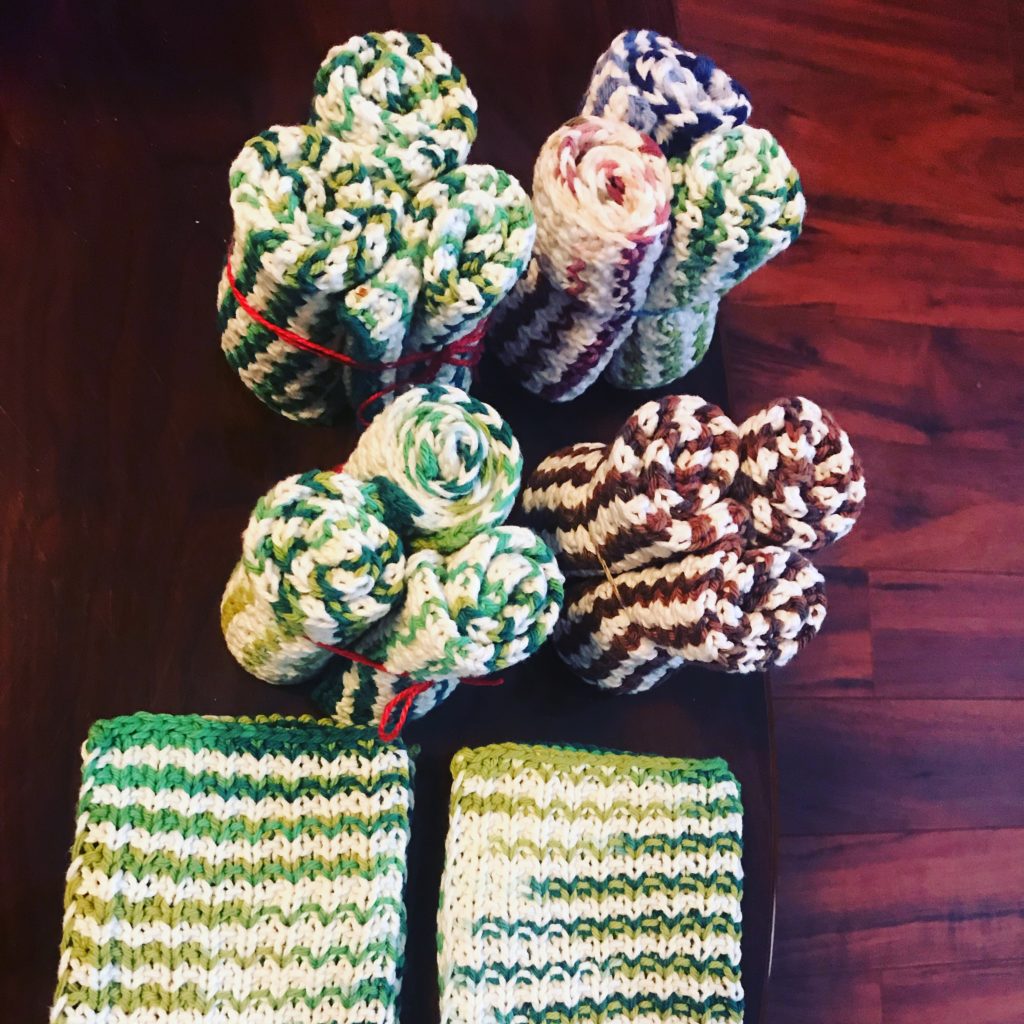

 I like how they look, but there’s more work to be done before I’m ready to test knit, pattern write, etc…but these are quick gift knits!
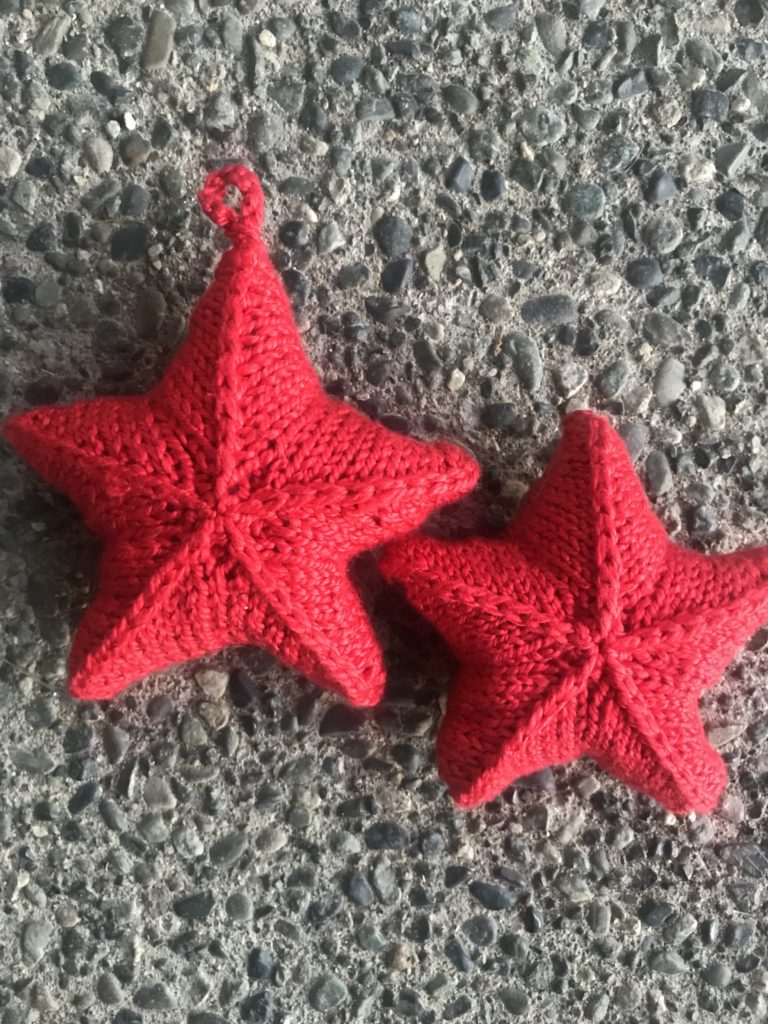 Yesterday was a distraction day! I’ve seen a number of these knit stars popping up in my feeds, so it gave me the idea I could “whip up” a dozen of these for the school holiday market.
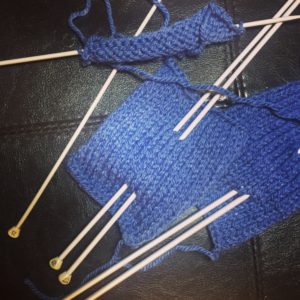
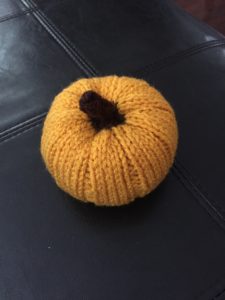 Knit pumpkins seem to be filling my
  Ravelry has a bunch of others, but I created my own pattern by increasing and decreasing like I would the top of a hat. I know those smaller openings makes stuffing it difficult, so I’m still playing with how it works. I like neat crown increases (if you’ve ever seen
