Knitvent Day 11 – Beyond Socks…

On my many weekends of travel as a hockeymom, I manage to search out Yarn shops near the arenas.  In 2017, I posted a lovely photo of a yarn I picked up in Courtenay, BC…

As I said back then, this yarn needed to be something more than a pair of socks hidden underneath pants and inside shoes or boots.  I finally got that yarn into a shawl (Reyna) to be worn out in the world!

Knitvent Day 10 – Playing with math

Quite awhile ago I created my own pattern for seamless baby booties to match a hat I had designed nearly a decade previous.  It’s my goto personal pattern for baby gifts.  I had the booties test-knit, the pattern tech edited, but never got to publishing it, thinking I wanted to do something more.

Last year I thought these booties would make great slippers.  So I’ve been playing with yarns, needles, math to upsize the bootie pattern.  This past weekend I’ve knit a mens’ small in Drops Eskimo wool, and a ladies medium in Premier Appalachia.

I like how they look, but there’s more work to be done before I’m ready to test knit, pattern write, etc…but these are quick gift knits!

Ahhhh Cashmere

Cashmere is sooooo soft. I knit cashmere baby booties for a baby gift and it was all I could do to not snuggle with those booties & yarn.

But I guess moths love that softness too, or because it is such a soft, gentle yarn it gets snagged too easily – because the most oft sweater I receive to repair is a black cashmere sweater.  I wondered today if the moths like the black better than other colours or if people just happen to buy & love their black cashmere sweaters more?

Although I did have another black cashmere to fix, I also had a lovely grey cashmere and a beige merino, so it was a nice change of pace for the eyes 🙂

Not so tense gauge…

I have finally given in to checking gauge and doing gauge swatches for every project I make.  Partly because it is an easy way to keep ‘spare yarn’ for my projects if I ever need to mend them; and partly because recent projects weren’t turning out as I had expected.  I learned some lessons in the last few months:

three gauge swatches for the Must Have Cardigan
  1. I beta-tested a new circled hat pattern by Woolly Wormhead.  Previous to this beta test, I had knit Dulcie and the hat was slightly larger than I expected.  I didn’t do a gauge swatch for Dulcie, but for the beta test, I was going to be accurate…it took me 3 tries to get gauge.  I didn’t realize that I knit so loosely!  I was shocked.
  2. I wanted to knit a shawl with a handpainted yarn I recently purchased, and I swatched with a smaller needle than asked for, assuming that I was knitting loosely so would need smaller needles.  Wrong again, I actually had to go up a needle size from the suggested size to get gauge.
  3. I’m having my Twin Rib Baby Hat pattern tech edited next week because I’ve designed a matching bootie set to go with it.  My original design in 2011 listed a different needle size and stitch count than what I am using now?  My knitting has changed?  Both hats used the same yarn though!  Maybe I made a typo on the original post(?)  I’ve double checked my current swatch but the original hat has long since been given away.

So the lessons I learned was I knit more loosely than Woolly Wormhead; I knit tighter than Karie Westermann; and I’m now knitting looser than I did 6 years ago.

Designers and experience knitters have always said to “Do gauge swatches”, and its finally sinking into my brain.  Its crazy to think needle sizes and stitch gauge will be standardized across all patterns and yarns when even your own knitting tension may change over time!

Save

FInishing Thoughts

A lace scarf in the process of being blocked.Image via WikipediaLast evening was the twitter #knitchat, and the topic was regarding Finishing – (You can see the topic questions here) Soon the list of tips will be posted by @cloudynatknits so watch for them 🙂

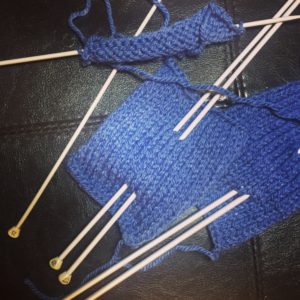
Being a 140 character chat in only one hour with a dozen or so knitters – we could venture off into any number of side topics, following thorugh on all the issues like weaving in ends, button holes, blocking, sewing, etc…but we did do a fair job of sharing tips with one another.

So to that end, I give you a couple of selected tips I’ve learned over the years that I teach in my beginners classes

1) Seams
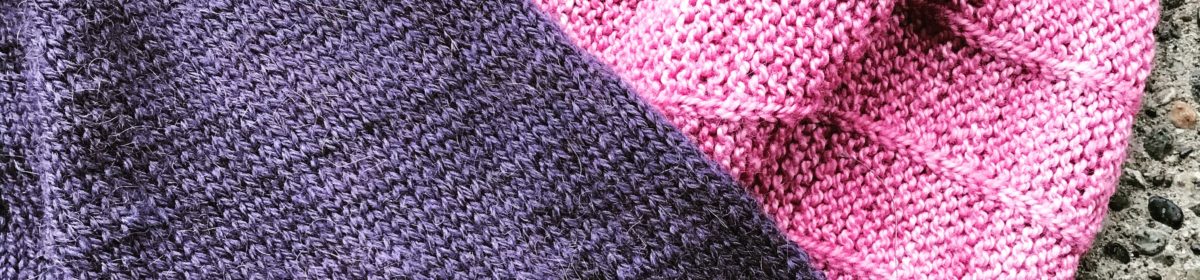
There are various techniques for seaming, depending upon the location of the seam – invisible seams are best for hats. Shoulder seams need more ‘stability’ so are seamed differently (if not done as a three-needle bind-off – something for a different class!) The most recommended option I hear is Mattress Stitch, however, I do like the Bickford Seam if you want a less bulky seam.

2) Weaving in Ends
Weaving – on the wrong side of the item, put the thread through the backs of stitches – (generally purl bumps), you can go diagonally up and back or across a row

Duplicate stitch method – (my personal favourite) basically follow the path of the yarn with the needle so it’s almost ‘knitted’ into the item.

Knitting in – some people will knit the loose piece(s) when they are knitting through the back of the stitches to avoid weaving later – this sometimes shows ‘through’ the knitting but does save time later.

3) Joins
To avoid having to weave ends in later each time you add a ball of yarn, try an invisible join – my personal favourites are Spit Splicing (if using feltable wool), or the Russian Join.
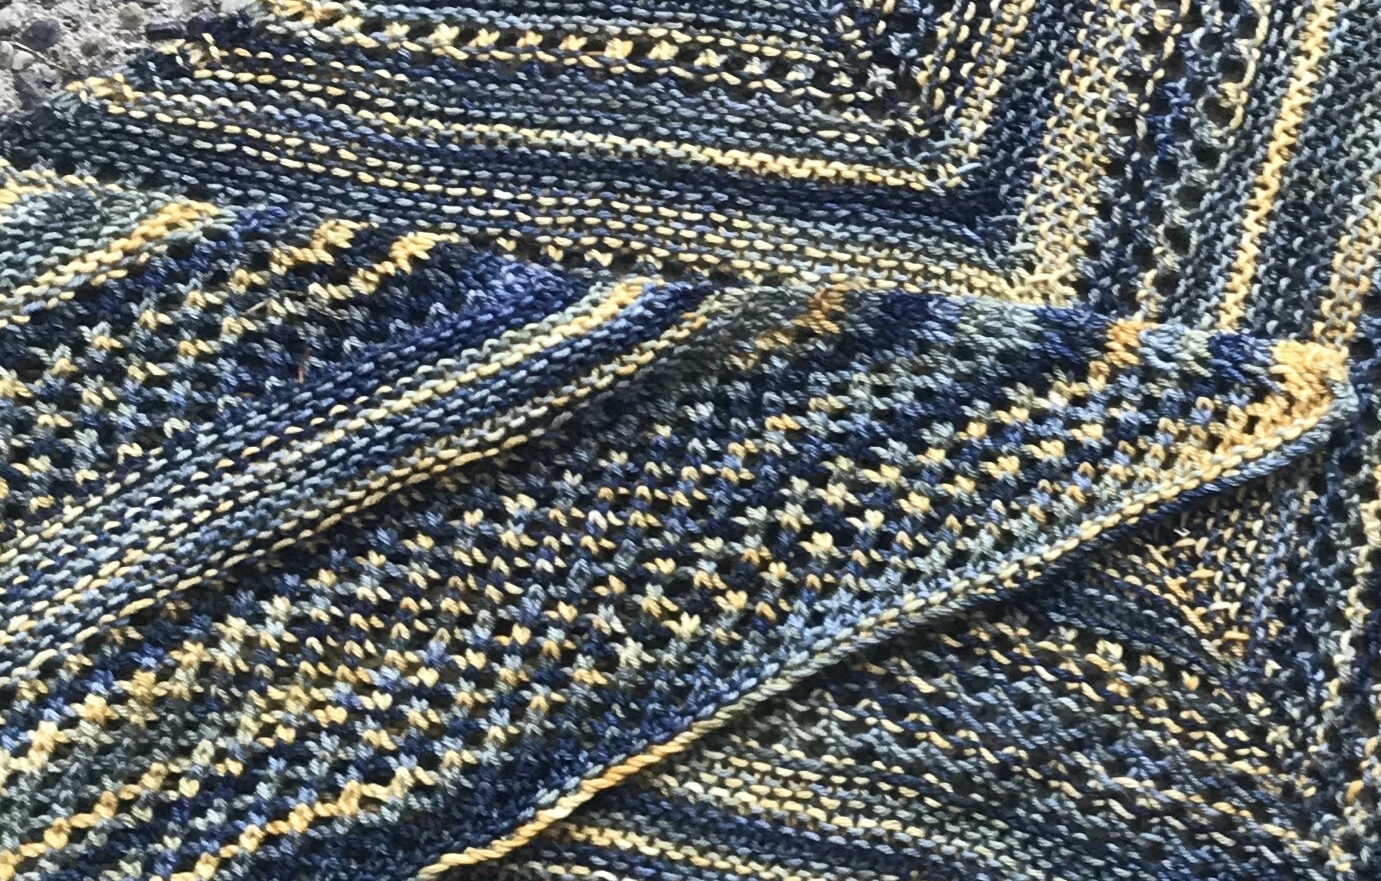
4) Blocking
For Hats – use a dinner plate for berets; balloon or upside down planter (of correct size) for touques.
For larger items – I use my bed 🙂 BUT, I find the children’s foam floor puzzles are great for blocking boards, plus being puzzle pieces – you can create any size board you want without taking up valuable storage space.

Lots more tips to come in future – but these were the ‘starter tips’ I gave my budding new knitters 🙂

If you’re on twitter – join us on Thursdays for #knitchat!
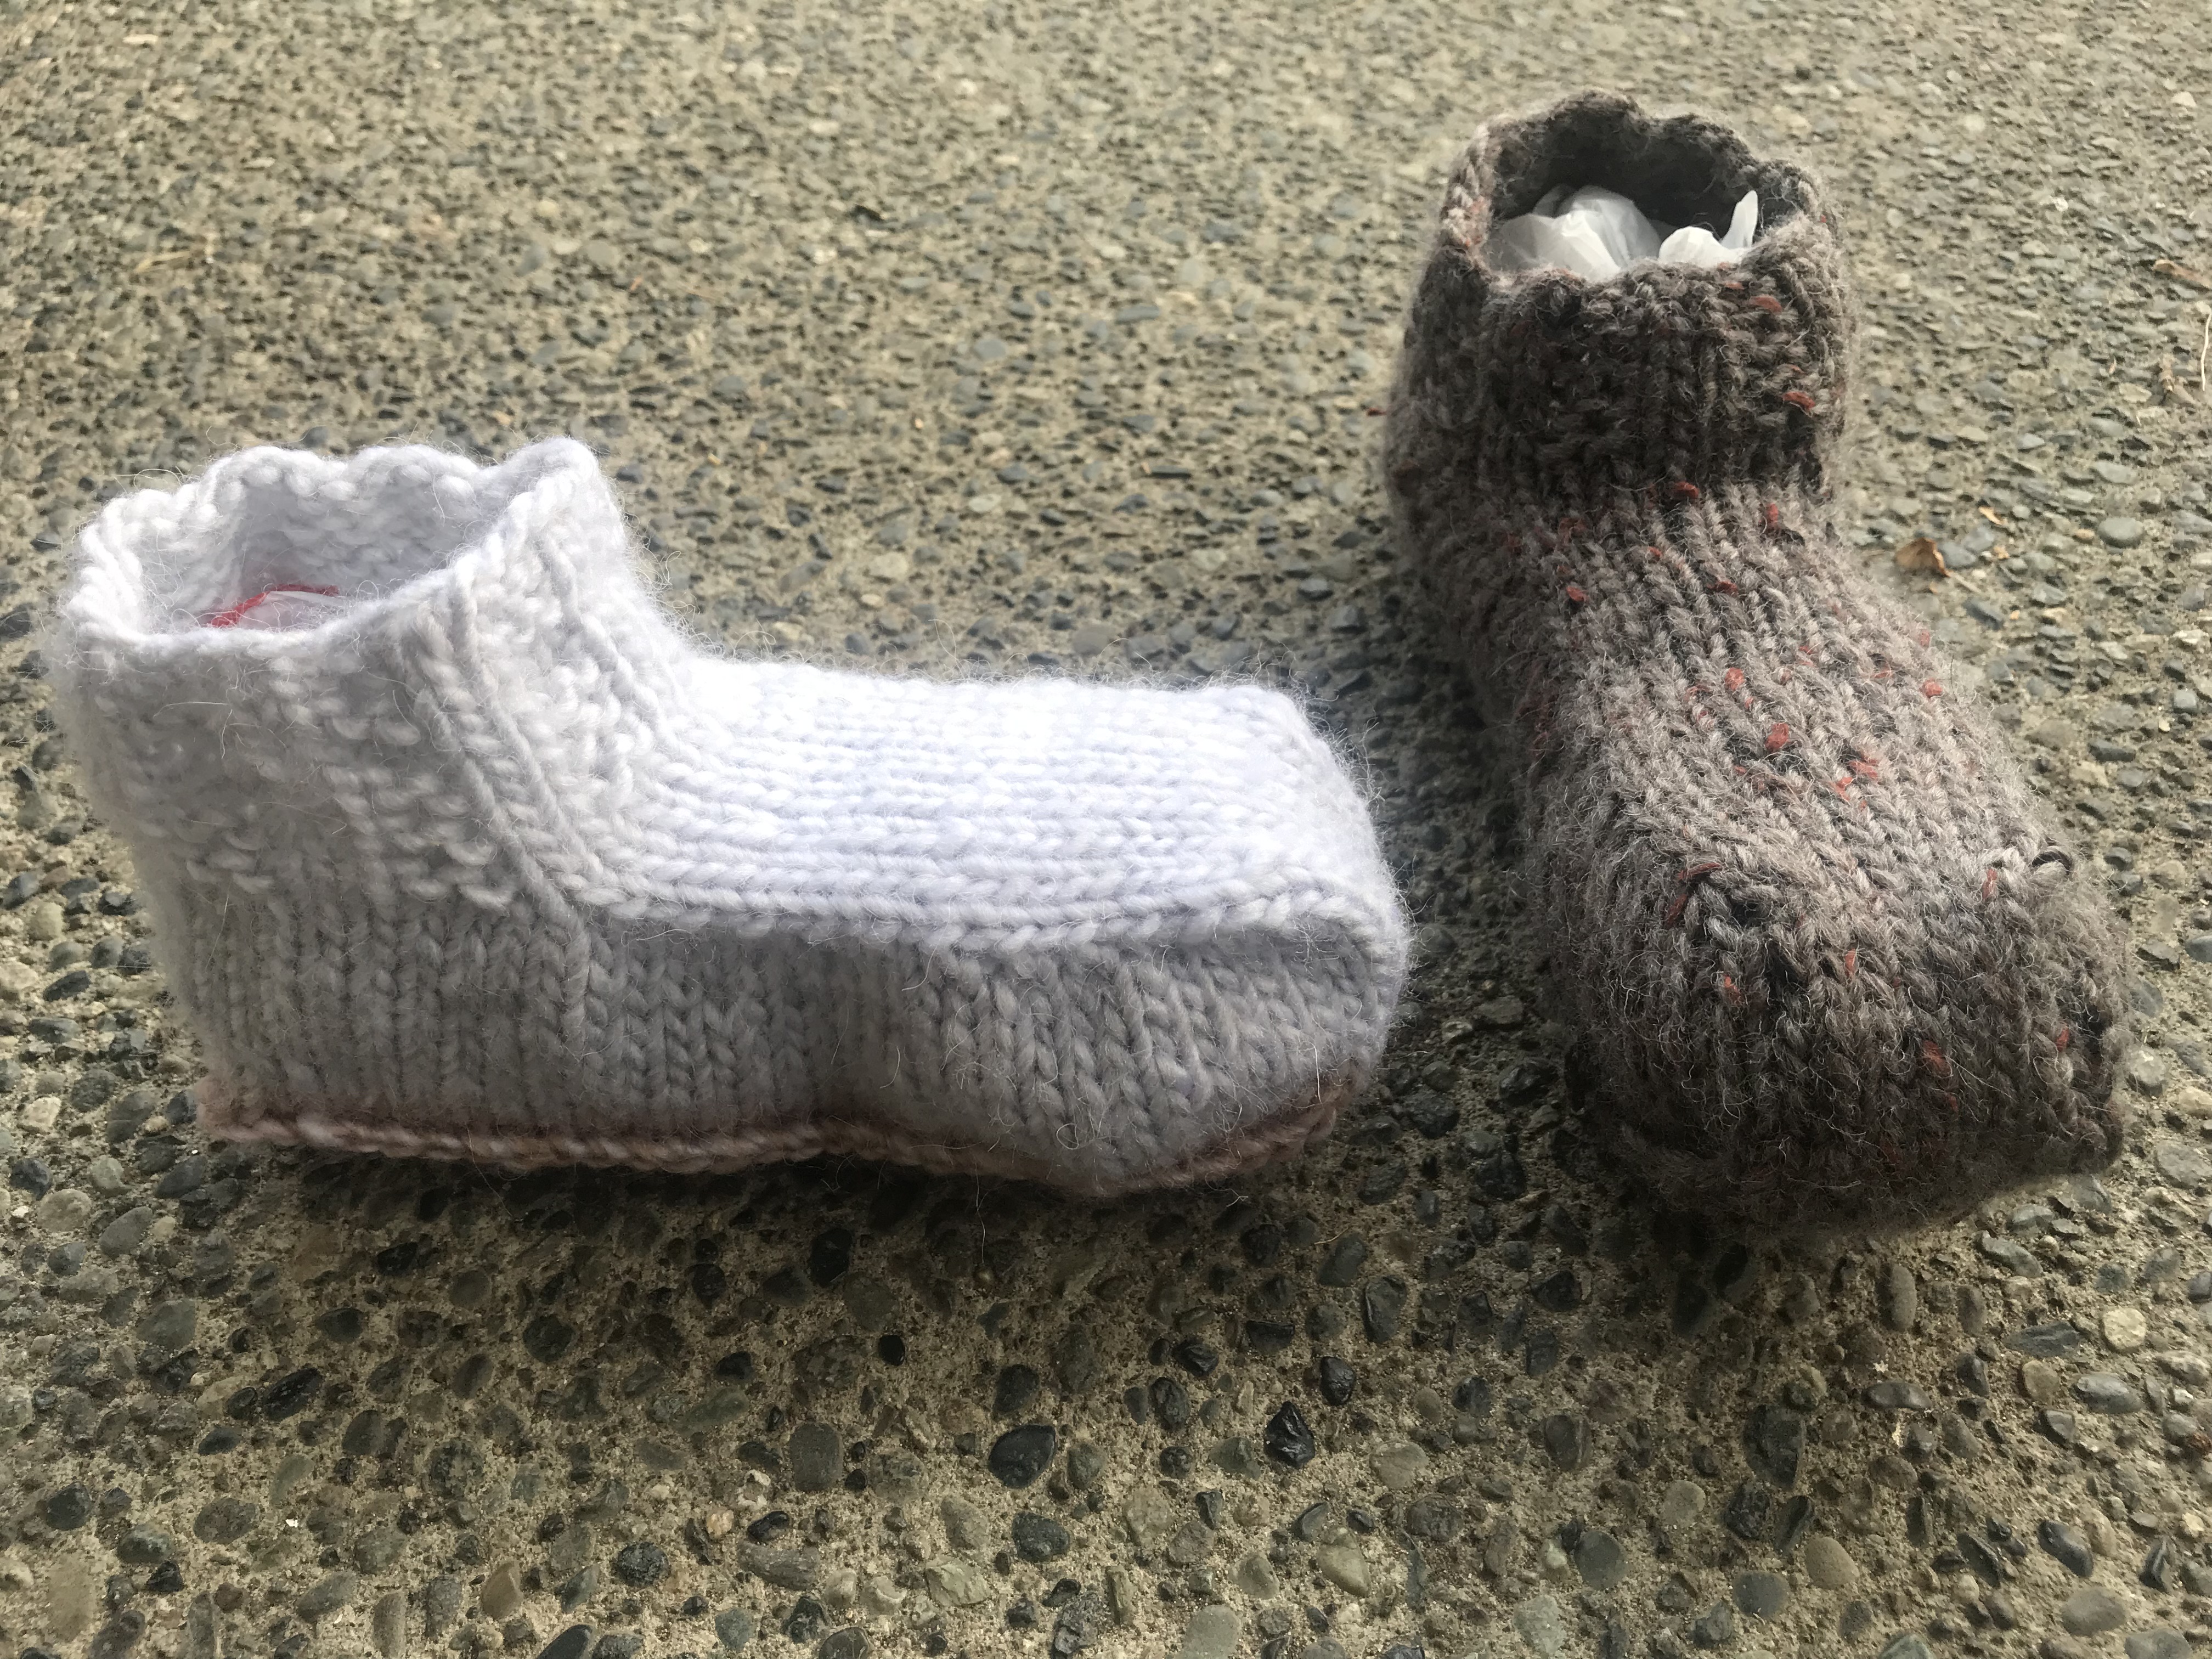
Related articles
Enhanced by Zemanta