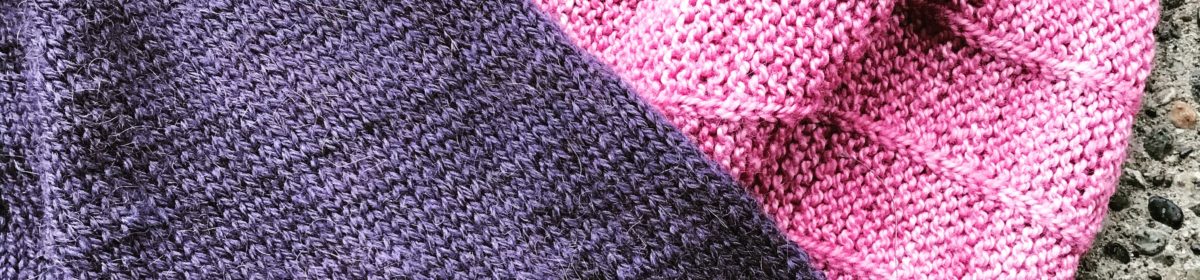
Countdown to #knitmas – day 1
As anyone who knows me is aware, I try to knit a small gift for family members, as well as a bunch of knits for my son’s school Holiday Market. So as I go crazy with getting things completed, I’m going to post sneak-peaks of how much I actually get done – one post per day as my “advent calendar”
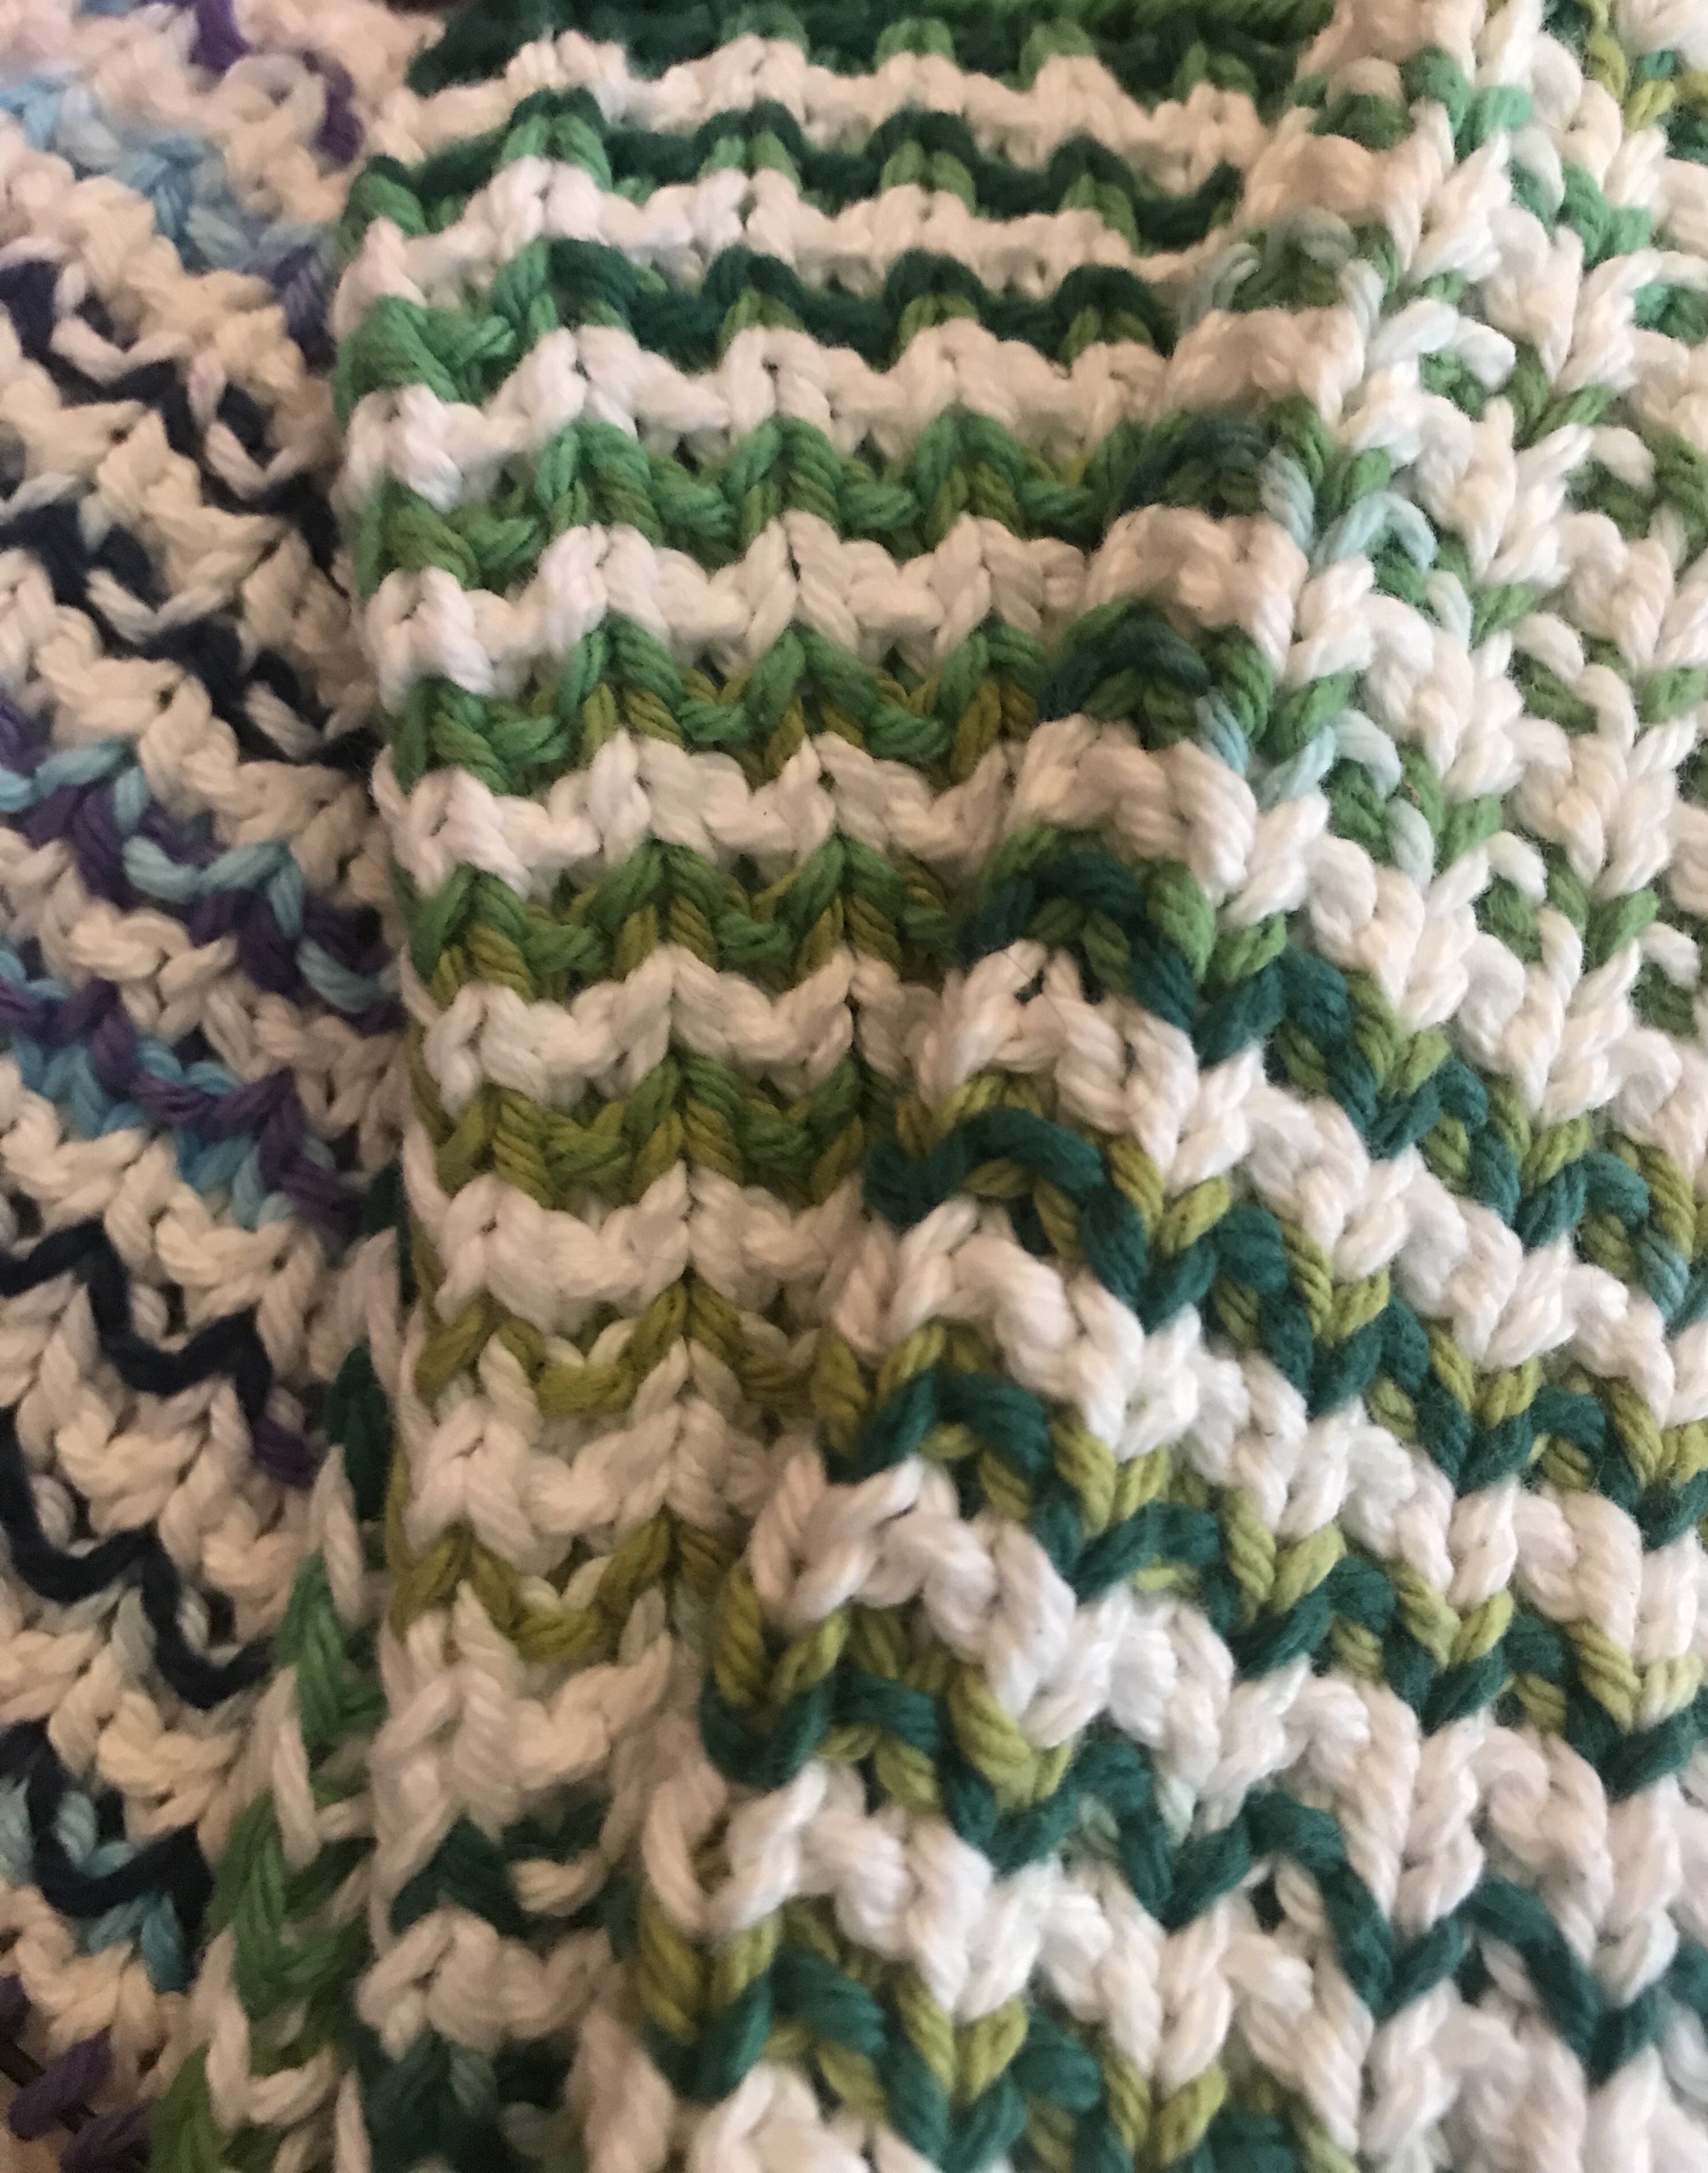
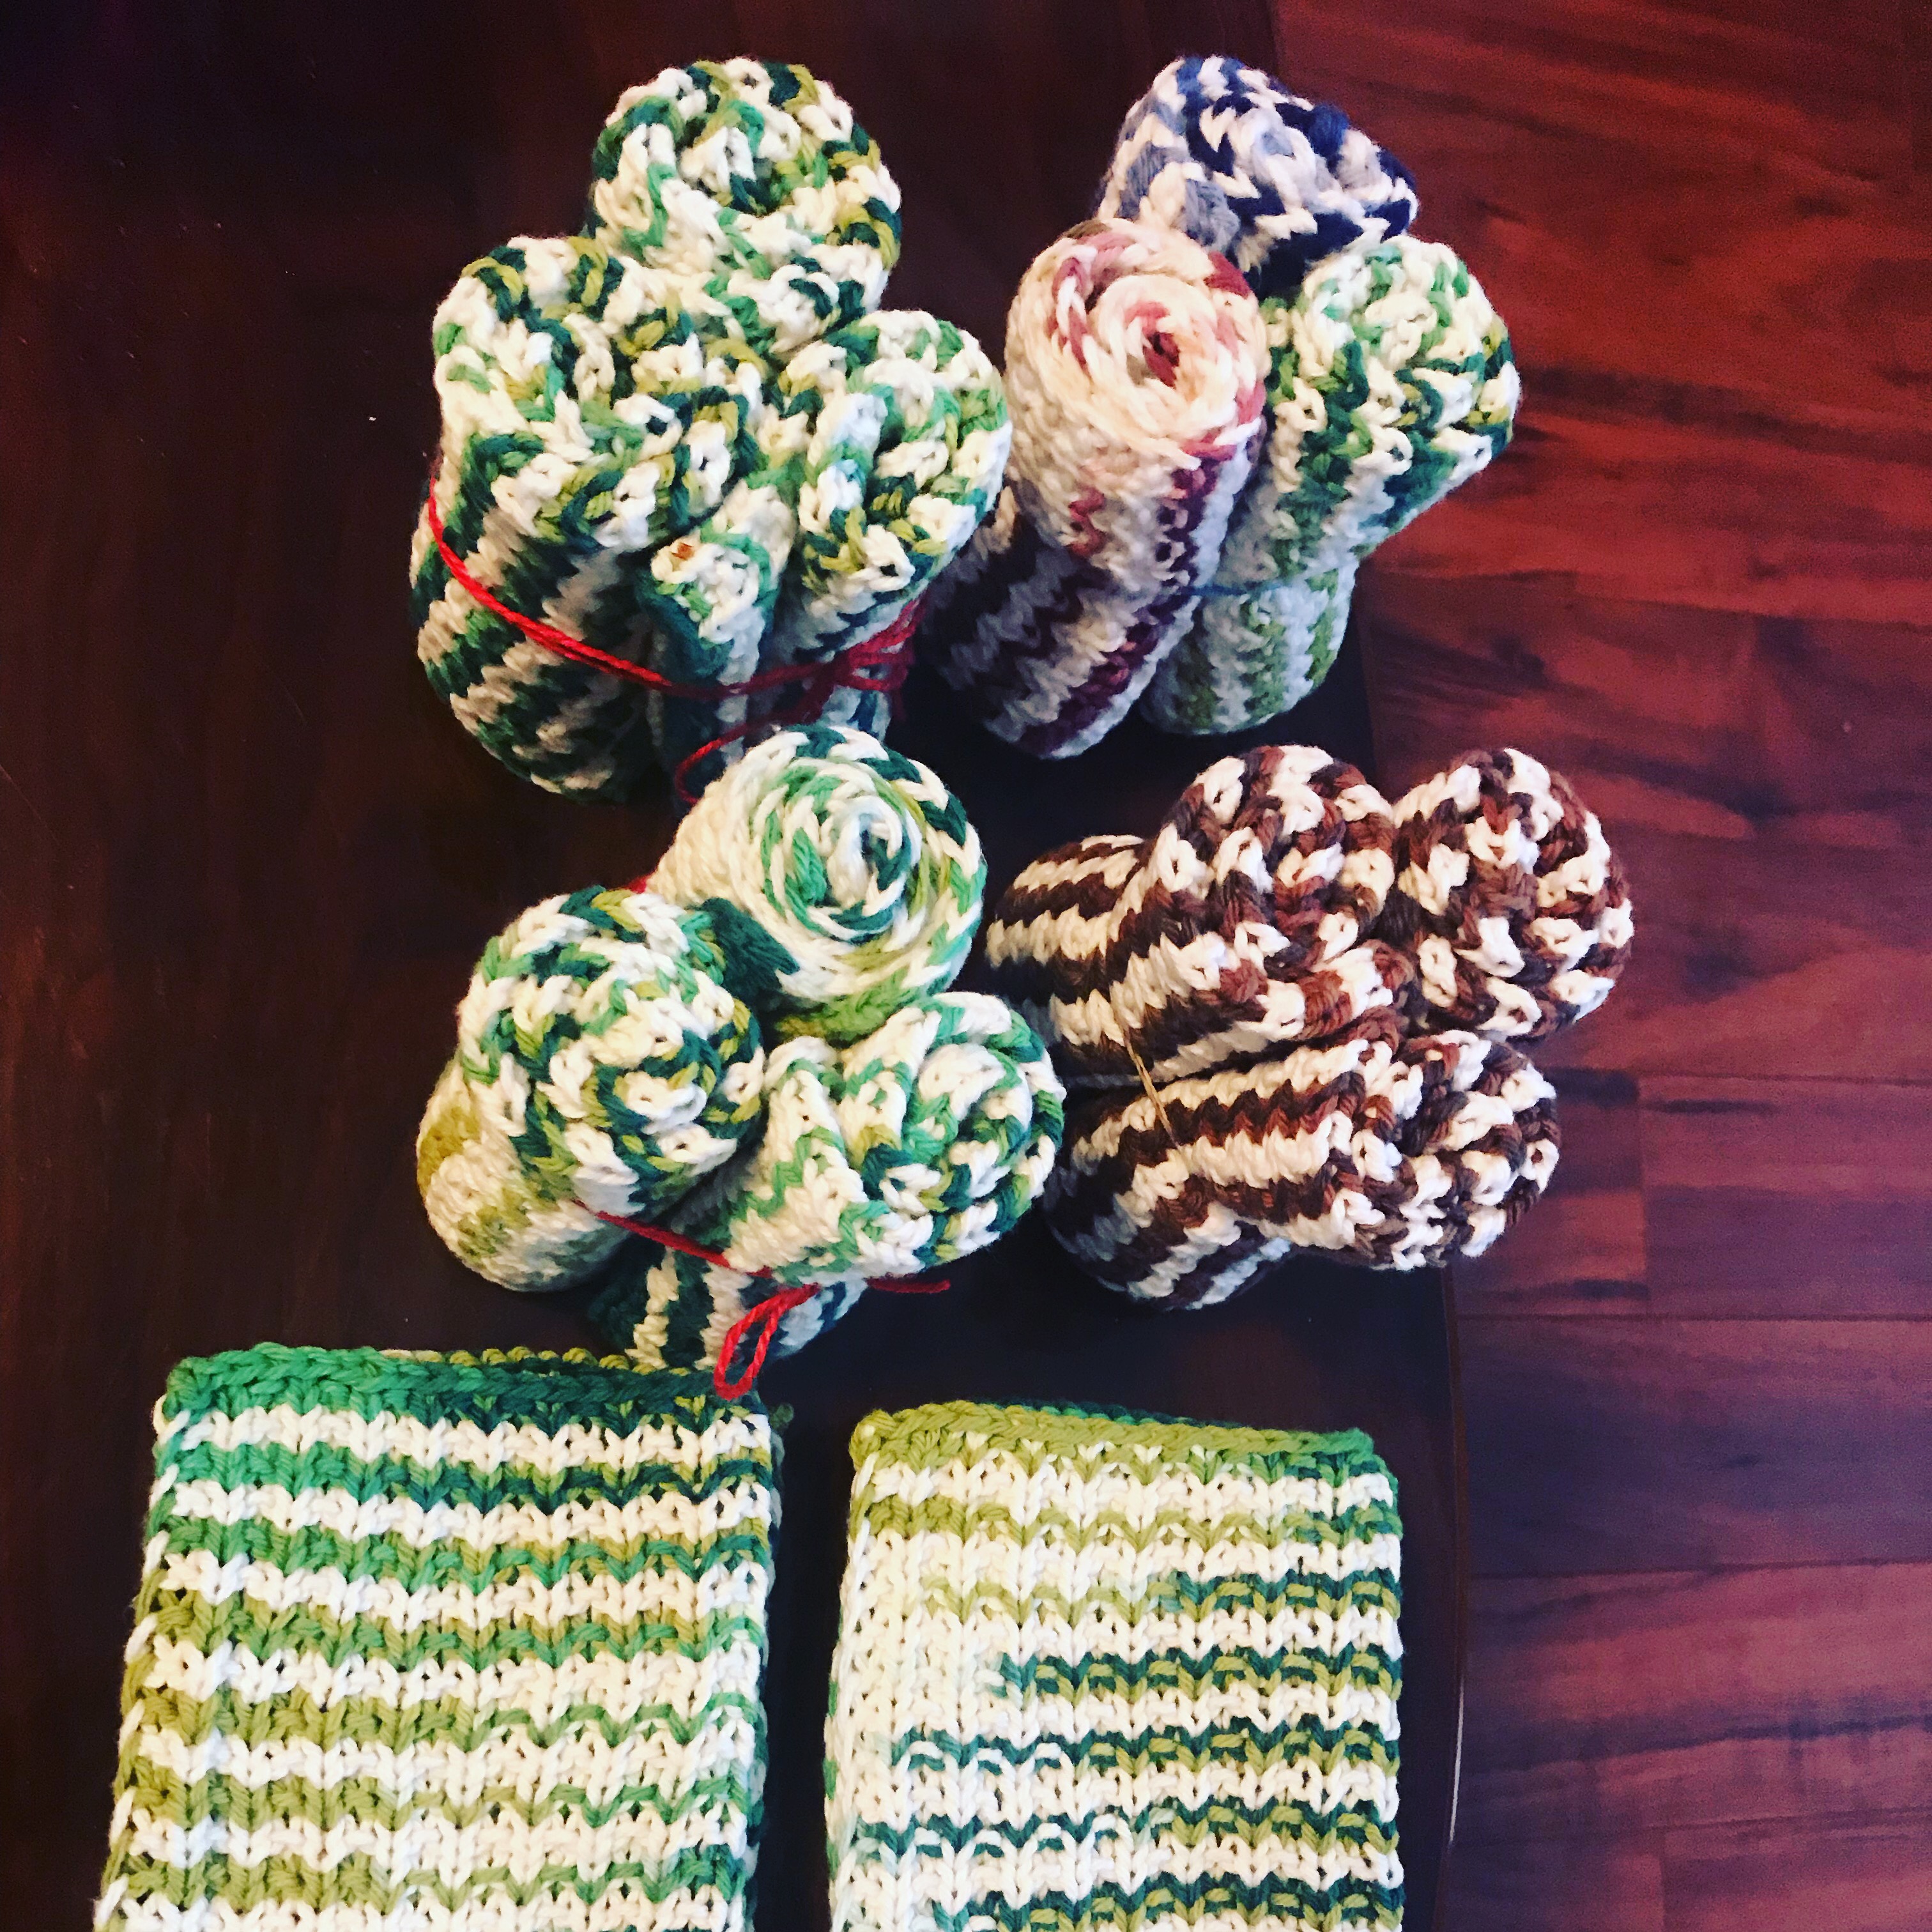
For Day 1 – I’ve completed 20 of my candy stripe facecloths which have already gone to the school and I have another 3 to wrap around soaps for neighbour gifts…I’ll likely be knitting at least another dozen – fast last minute gifts for when I run out of time
I’m trying to get pattern tech edited and posted in time for others to do quick last minute knits!
Cashmere is sooooo soft. I knit cashmere baby booties for a baby gift and it was all I could do to not snuggle with those booties & yarn.
But I guess moths love that softness too, or because it is such a soft, gentle yarn it gets snagged too easily – because the most oft sweater I receive to repair is a black cashmere sweater. I wondered today if the moths like the black better than other colours or if people just happen to buy & love their black cashmere sweaters more?
Although I did have another black cashmere to fix, I also had a lovely grey cashmere and a beige merino, so it was a nice change of pace for the eyes 🙂
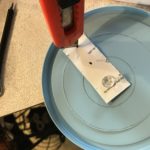
Happy belated New Year! I was not feeling very happy January 1st, so I tried my best to stay off the internet. But, I still managed to cast on a new project to start the new year and if it weren’t for my arm, I would have finished it on the 1st…instead it finished January 2nd, and included remembering how to make pompoms!
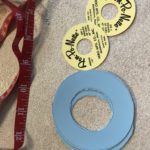
I had an old set of Pom-po-Nette from my grandmother, but the pompom would only be 1.75″ and this called for a 3″ pompom. So after digging through recycling for plastic yogurt lids, I managed to make 2 3″ circles with a 1.5″ centre as per the pattern. My steps were to create a manual compass out of cardboard, then I drew the circles, then realized it might be easier to cut if I used the tip of an exacto knife in the ‘compass’.
creating 3″ circles from yogurt lidsThumbtack centre, cardboard compass, golf pencil to traceExacto knife cutting w compassFinished circles
After all this I wanted to figure a speedier way to make pompoms so last evening I went Pinterest searching and found a couple of neat tricks:
The classic cardboard circle method I learned as a child:
Two toilet paper rolls (much easier imo) & a fork for smaller ones:
And of course the commercial version that would be very speedy indeed from Clover:
One method I may try when I need a bunch of gifts done would be this method:
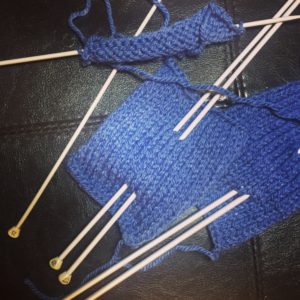
I have finally given in to checking gauge and doing gauge swatches for every project I make. Partly because it is an easy way to keep ‘spare yarn’ for my projects if I ever need to mend them; and partly because recent projects weren’t turning out as I had expected. I learned some lessons in the last few months:
three gauge swatches for the Must Have Cardigan
I beta-tested a new circled hat pattern by Woolly Wormhead. Previous to this beta test, I had knit Dulcie and the hat was slightly larger than I expected. I didn’t do a gauge swatch for Dulcie, but for the beta test, I was going to be accurate…it took me 3 tries to get gauge. I didn’t realize that I knit so loosely! I was shocked.
I wanted to knit a shawl with a handpainted yarn I recently purchased, and I swatched with a smaller needle than asked for, assuming that I was knitting loosely so would need smaller needles. Wrong again, I actually had to go up a needle size from the suggested size to get gauge.
I’m having my Twin Rib Baby Hat pattern tech edited next week because I’ve designed a matching bootie set to go with it. My original design in 2011 listed a different needle size and stitch count than what I am using now? My knitting has changed? Both hats used the same yarn though! Maybe I made a typo on the original post(?) I’ve double checked my current swatch but the original hat has long since been given away.
So the lessons I learned was I knit more loosely than Woolly Wormhead; I knit tighter than Karie Westermann; and I’m now knitting looser than I did 6 years ago.
Designers and experience knitters have always said to “Do gauge swatches”, and its finally sinking into my brain. Its crazy to think needle sizes and stitch gauge will be standardized across all patterns and yarns when even your own knitting tension may change over time!
This past weekend my son was playing hockey up-island (Courtenay, BC). Now, if you aren’t a hockey mom, it might surprise you that not only do we drive 3 hours to & from this away game, we also arrive 1.5-2hrs in advance of the game (and the game itself is 1.5-2hrs). I love my child, and love what team sports teach him, so I instead of ‘complaining’, I’ve made it my mission to seek out tourist spots in the areas he’s playing. This time, however, I made a plan to search out a local yarn shop. I found one only 7 minutes drive from the arena so I could go there and back before the game. We carpooled, so another hockey mom came along with me to Uptown Yarns. What a lovely store, nice little space, and plenty of room for classes. The owner’s mother chatted with us about the recent sock knitting class and her current project on the needles. My friend exclaimed she wished she was that talented…to which I replied, “its just math…” So, being an accountant, math isn’t so hard, so she’s thinking about when she’d have time to learn.
Yesterday, I was a Canadian Blood Services donation clinic and of course I brought out the knitting to pass along the time. Three different people approached me to watch, “wishing” they could knit. Again, I explained it’s simple and they were intrigued. Two had learned when they were much younger, but had “forgotten”, one had attempted learning online but really wanted a person to show her.
So, after having 4 people in 2 days talk to me about learning to knit, I believe its time for me to start up my classes again. I’ve been in touch with Westshore Parks & Recreation (where I used to teach), so I’ll keep everyone posted. I may just do the Beginners class in spring and do sock knitting via private/semi-private sessions until the fall.Now to play with my patterns that I’ll share/teach…
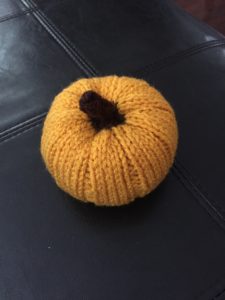
Knit pumpkins seem to be filling my Pinterest feed, and I must admit, they are irresistibly cute. Years ago (2009!?) I made a felted pumpkin for our ‘nature table’ and it has been our fall decoration ever since. It’s been a lonely little pumpkin, so with all these pins, I thought it time I knit some companions.
First off, “Autumn Pumpkin” by Jan Lewis – I used leftover gold yarn from a Dr. Who scarf I had knit, figuring I could make a Dr.Who themed pumpkin table. Quick knit, but I found the closings tough on the hands. Pulling 30 stitches tight makes a nice gathered look for the top & bottom of the pumpkin, but its hard on the hands depending on the yarn & needle you use.
Next up, I found a popular pin that kept redirecting, after many tries, I finally got one that worked without redirecting, and read through this pattern – I have yet to make it, but its another closure that I think will hurt my hands…but don’t they look adorably cute?
Ravelry has a bunch of others, but I created my own pattern by increasing and decreasing like I would the top of a hat. I know those smaller openings makes stuffing it difficult, so I’m still playing with how it works. I like neat crown increases (if you’ve ever seen my purple hat pattern), so its still an experiment requiring me to make some more 🙂
If you took care of your sweaters last spring when you put them away, they were cleaned & de’fuzzed’ and put away in breathable bags/containers. Then when the cool weather comes around, you need only pull them out and put them on. (see my post on breathing new life into an old sweater)
BUT, most of us wash & put things away without the extra ‘care’ for the woolies…and the moths love us for that…pills attract & hide dirt, and dirt attracts those little moths…and we end up opening up our sweater drawer (closet, wardrobe) and find our lovely woolies have become a moth buffet!
Now, rather than have a sweater emergency in late September, now is the perfect time to pull out those woolies and check them out. Wash with a wool soap (my favourite has always been Eucalan Lavender no-rinse wash, but Soak or Kookaburra are nice too); shave off those fuzzies (the technical term is pills) and have your lovely woolies ready for the cool breezes soon to come….
(As I write this, I have the air conditioner on, tank top and shorts…I just finished knitting a wool hat, so yes, I know it sounds crazy, but believe me, do it now rather than later)
Depilling helps renew the look of the sweater, and prevents future ‘snags’. Plus it gives the sweater new life…
My nephew has a favourite sweater he’s had for years. My niece (his younger sister) has her eye on it for as soon as he outgrows it! It is a beautiful Canada wool sweater with a fleece lining.
Unfortunately, the elbow on one of the arms snagged and caused a hole. Knowing that its his favourite, and little sister wants it, my very smart sister-in-law considered different ways to fix this before the hole got bigger!
1) Sewing the hole shut. My comment – it won’t be invisible and I’d worry about the thread cutting the yarn faster over time. Pilling of sweaters occurs from the fibers rubbing against each other, add in a nylon thread and it’ll cut.
2) Elbow Patch. This would be a cool feature, but probably not what the niece wants for ‘style’
3) Patterned Darning. This would be an equally cool feature, but probably not what the nephew wants for style.
A photo posted by Katherine Caughran (@stringandbeans) on
Now, with this being fleece lined, using existing yarn from the sweater (side seams) wasn’t an easy task for such a small fix; however I did have a matching yarn in a slightly heavier weight. Steps I took to fix it were:
I thinned the new yarn a bit so it wouldn’t create a thicker area in that spot;
shaved the pilling around the hole so I could see the stitches clearly,
sewed a ‘grid’ with white cotton sock yarn to guide me and
swiss darned the hole which was 3 rows by 2 stiches
Depilling helps renew the look of the sweater, and prevents future ‘snags’. Plus it gives the sweater new life…My photos don’t do it justice!
It’s been years of me saying I’ll knit myself a new christmas stocking, since mine is so much smaller than hubby & child’s…(yes I’m glossng over the fact its been years since I last posted here).
Each year, I’m usually too busy with gift knits to get around to my stocking, so this year, I started the stocking after Christmas, so it’ll be ready for next year. I’m following this Falling Snowflake pattern and after starting off great, realized I needed my name added.
Now, when knitting a sweater or blanket, you just chart and go…but this stocking is in the round and top down…so I could chart my name using excel, but needed it to be upside down.
I tried a couple of things:
1) I searched Ravelry for upside down alphabet charts – didn’t find one 2) I googled upside down alphabet charts – didn’t get results I needed. 3) I charted name as per usual in Excel then knit it backwards from what I’d usually do with a chart.
I set my column widths to .74cm so it would look like the graph chart in use by the stocking pattern
I chose to have the letters in the same height as the 2nd snowflake band of the pattern so only 10 rows high
My letters were ‘narrow’ but I still had to add an extra repeat of the snowflake pattern (ie cast on an extra 32 stitches) in order to fit my whole name.
And now I have my own ‘larger’ stocking, albeit still smaller than the other two

 Knit pumpkins seem to be filling my
  Ravelry has a bunch of others, but I created my own pattern by increasing and decreasing like I would the top of a hat. I know those smaller openings makes stuffing it difficult, so I’m still playing with how it works. I like neat crown increases (if you’ve ever seen